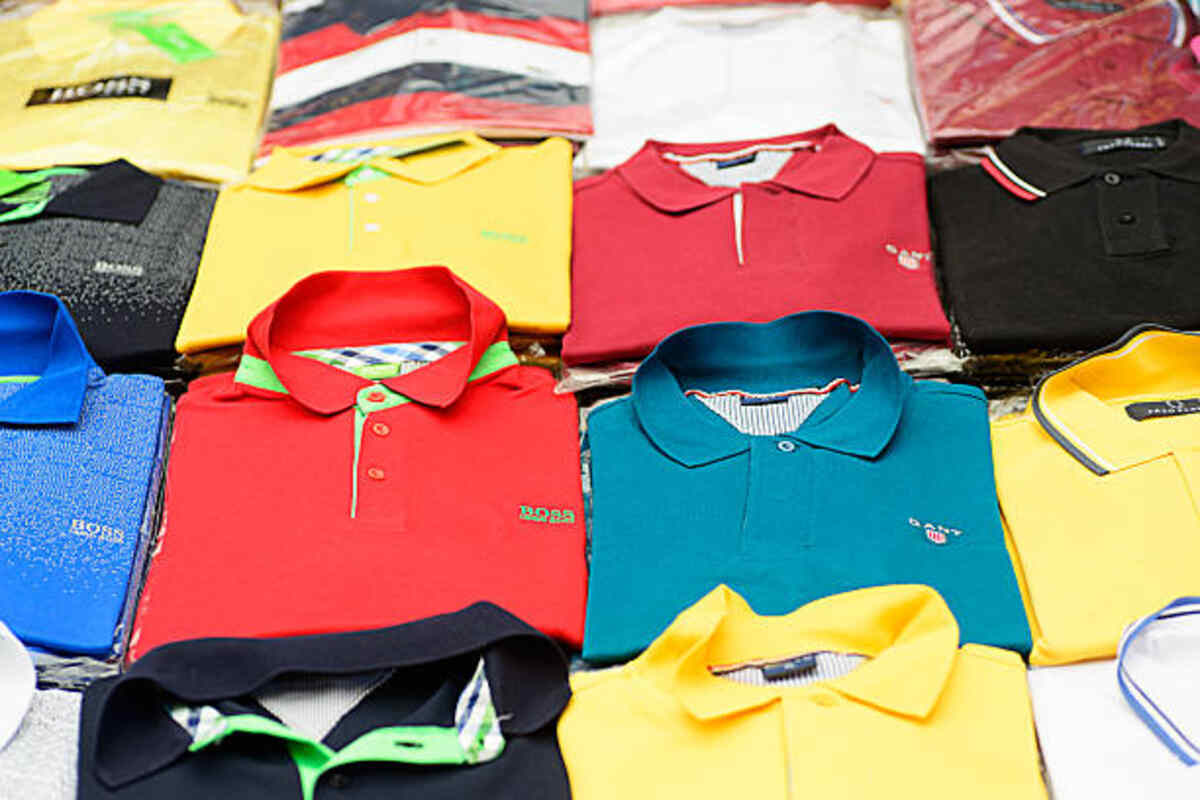
Faux Bleach Shirts
Faux bleach shirts make ideal sublimation shirts! Their smooth cotton-like surface makes sublimation easy. Make sure to use new blowout paper when pressing your fake bleach shirt at 385-400 for 30 seconds for best results.
Printing Instructions
These bleach shirts make excellent selling items in your shop without the additional work involved in actually bleaching them. With their cotton feel and great sublimation potential, these products make exceptional sales items.
Paintbrush or template designs can help you add methods to a shirt prior to printing on it, providing that they leave a solid bleached area for sublimation printing. Spray bottles may be helpful when adding an abstract pattern; sunlight and wind will speed the drying process and help prevent spots from appearing on your design.
Before printing on the shirt, it is necessary to protect your heat press by covering its bottom pad with butcher paper and adding another sheet between the front and back to prevent your design’s ink from bleeding through and staining subsequent items pressed on it.
Put the shirt into the heat press, pressing at 385-400 for 50 seconds with light pressure, before taking out and placing a sheet of blow-out paper on top to protect future presses from sticking to it. Additionally, you may wish to use a lint roller on these shirts to remove any remaining fibers before pressing. This method makes sublimation designs come alive without spending hours bleaching them yourself!
Pressing Instructions
Bleach shirts make an excellent base for sublimation. Their soft cotton feel and beautiful sheen make them the ideal canvas for bold designs with bright colors. While bleached shirts may seem challenging to create, the key to their success lies in selecting the appropriate polyester/cotton blend shirts that can withstand sublimation while remaining bleachable – such as heather colors with 65% polyester/35% cotton content shirts.
To create the look of a faux bleached shirt, first, wash and dry your sweater before inserting a piece of cardboard inside to protect its back from the bleach. Use either stencils or brushes to paint over the bleached areas with light touches; too much can ruin the shirt! For best results, complete this task outdoors under direct sunlight if possible for faster results. Once satisfied with its color, you can wash your shirt usually afterward.
Once your shirt is dry, you can start the sublimation process. For this step, a heat press that can handle sublimation (such as Cricut EasyPress with pressing mat, Autopress, or traditional style heat press) is required; additionally, a specific sublimation ink type may also be needed as regular inkjet printers cannot provide adequate ink.
If using a traditional press, make sure that both the bottom pad and one of the pads inside of your shirt are covered in butcher paper in order to prevent any bleeding of color. Also put a sheet on top of the shirt in order to minimize color transference from bleached parts of it to your design.
Once you are ready to press, set your heat press to 375degF and apply light pressure for 50 seconds with light pressure. Remove your shirt from the media and allow it to cool before handling it – or use a lint roller on it first to remove any remaining fibers from the fabric.
Care Instructions
Faux Bleached T-shirts are composed of 95% polyester and 5% spandex for a soft cotton feel. They sublimate beautifully, making them the ideal way to print bleach designs using sublimation printers. Faux Bleached t-shirts allow your customers to add that bleach look without all the work of bleaching their custom-designed sublimation t-shirts!
Before creating the faux bleach look, it is essential first to prepare your shirt. Insert a piece of cardboard in the middle; this will prevent bleach from seeping through to the back side of the sweater and bleeding onto it. Use white chalk to sketch your design onto the front of the shirt using any colors you like. If your chalk lines do not suit your vision, smudge them out and resketch as necessary – now is also the perfect time to put on rubber gloves and begin prepping bleach!
Pour 50/50 bleach and water into a spray bottle; one cup should suffice if your bottle is more petite. Once your bleach mixture is ready to use, begin spraying onto areas of the shirt where bleaching will occur; it’s best to avoid spraying directly onto stencils; otherwise, it could bleed through and bleach other parts of the sweater unintendedly.
Once you have applied bleach to the areas that need bleaching, let it sit – ideally in direct sunlight – for 30 to 1 hour before checking every 10 minutes to monitor progress and make adjustments as necessary. When satisfied with its appearance, rinse in cold water; as always, make sure you wear your rubber gloves!
Once the shirt has been washed and dried, you are ready to create your complete color sublimation design. Be careful when flying alone the first time, as bleach dye may bleed into other fabrics in your washing machine and stain other garments if washed with other clothes in subsequent washes. However, be wary when flying with different clothes on subsequent washes.
FAQ
No longer will you need to bleach cotton shirts and hope they sub; these 100% polyester beauties come repressed with bleach patterns that ensure designs will sub perfectly. Just ensure you use butcher/blowout paper when pressing!
95% Polyester and 5% Spandex for easy printing! No bleach is required for this easy work with the shirt! Unisex Sizing: Print, press, and profit!


